Tuesday, November 1, 2011

New Crafties :-)

I have a ton of crafts that I have done lately, but lets be honest...I am not the best at blogging even though I try really hard. But I am here today with two crafts I just did! They were so easy too and I am excited to show them to you.


Craft #1: Re-Sizing your shoes

I love D.I. even though the one here in Provo isn't the greatest. You can always find something though and I discovered that on Monday's you can score a ton of great stuff!


Like these lovelies! Ready for this...they were $1! I know right!? I almost died cause I have wanted some more strappy sandals and these are perfect...but the straps had been stretched out. Soooo since I have a new sewing machine I thought I should take advantage of it. I figured I could re-size them somehow and I eventually figured it out. Here is how I did it so you can do it too!


I first decided that the best way to re-size them was to cut off one of the straps and re-sew it on the shoe in order to tighten it up = shoe will fit better :-) As you can see from the pic, I cut it off close to where it originally was sewn as to not loose to much fabric.


From there I refolded the fabric around to a length that felt comfortable and made the fit better, and sewed them together with the sewing machine.


And here is the finished product! They still look the same, but now they fit! This project literally took me 5 min. This is an easy way to fix your shoes that you love so much before sending them off to D.I. like these babies for someone like me to pick up for $1! Ahhhh!


Craft #2: Re-Fashioning a skirt


My cousin a while back gave me a bunch of stuff to give to D.I. and this skirt was apart of the bunch. It is not really my style but I thought that this would be a great project to re-fashion so I could actually wear it!


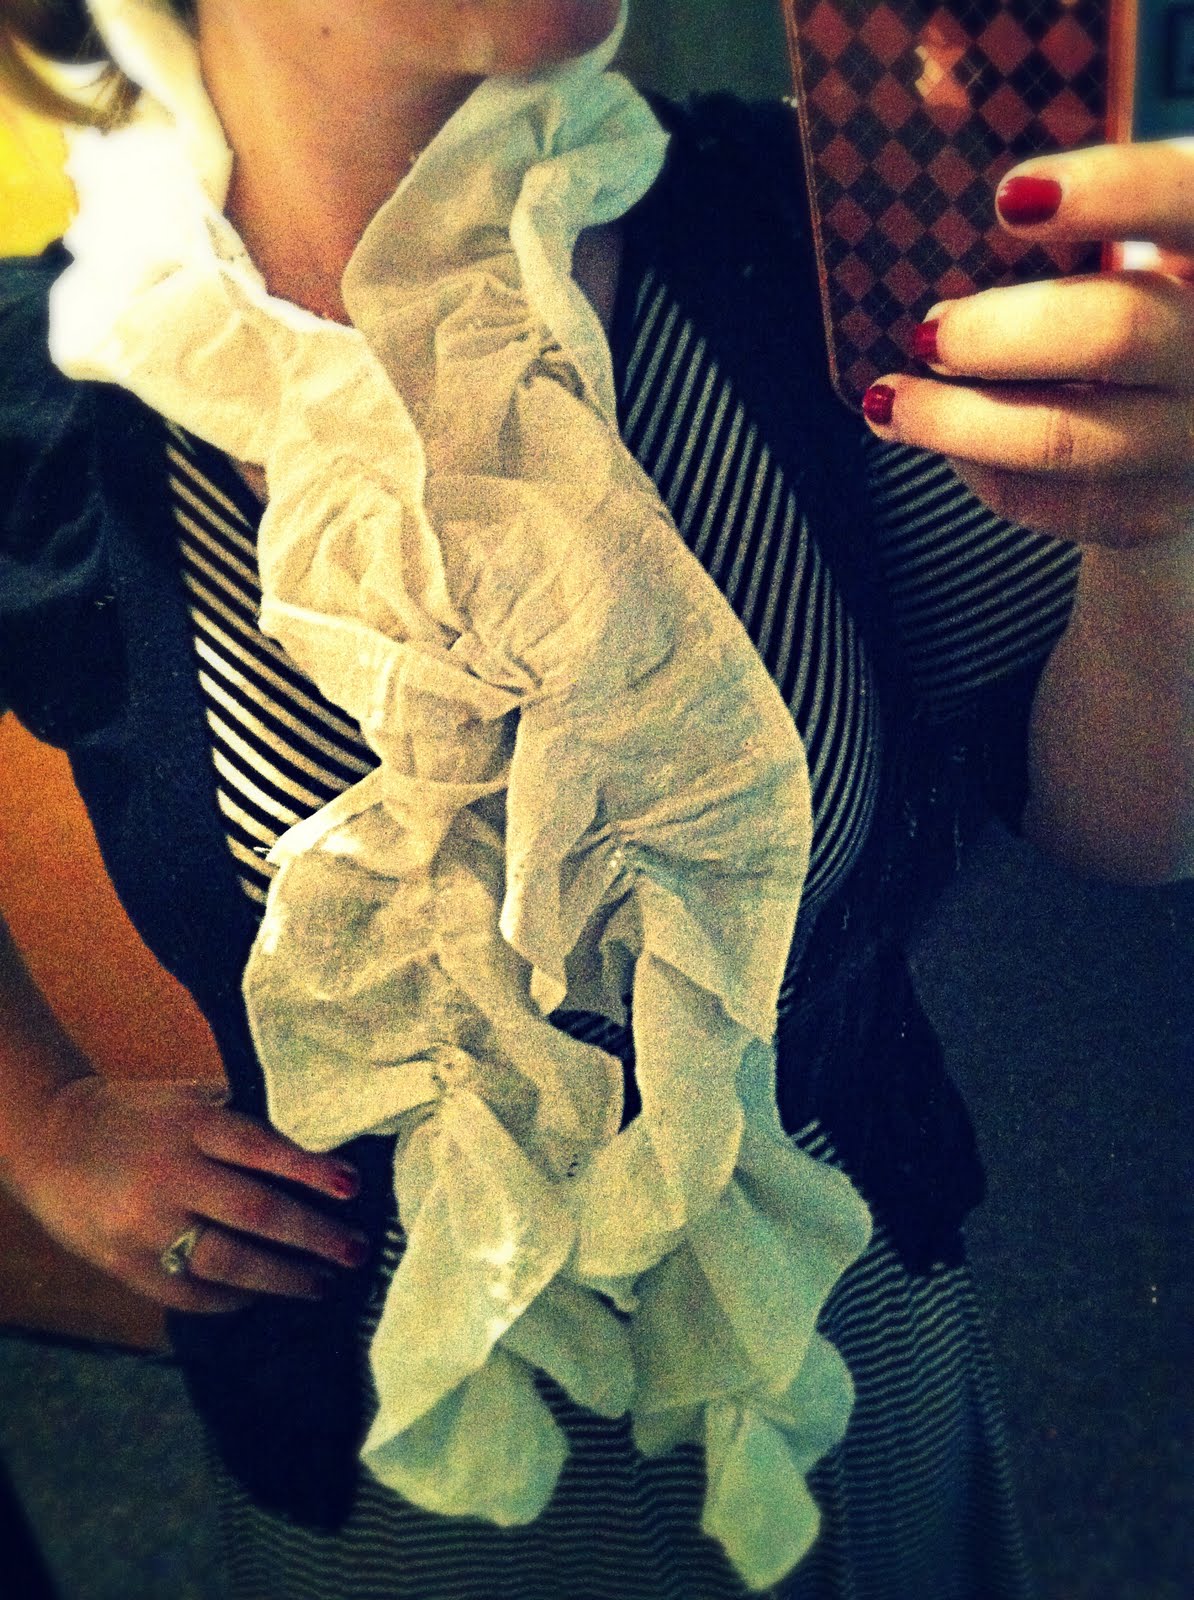
At first it was too long so I thought it would be great to add maybe a ruffle to the skirt to jazz it up. Also, the skirt was a little too big. As you can see from the pic, I went ahead and sewed straight down on each side to slim the skirt down. From there I cut the bottom of the skirt off in order to make a new ruffle out of the extra fabric.


From there, I hemmed up the bottom ruffle, and added it to the skirt. I didn't sew it on the bottom of the skirt, but rather about two inches or so above the bottom of the actual skirt in order to give it that ruffle look.


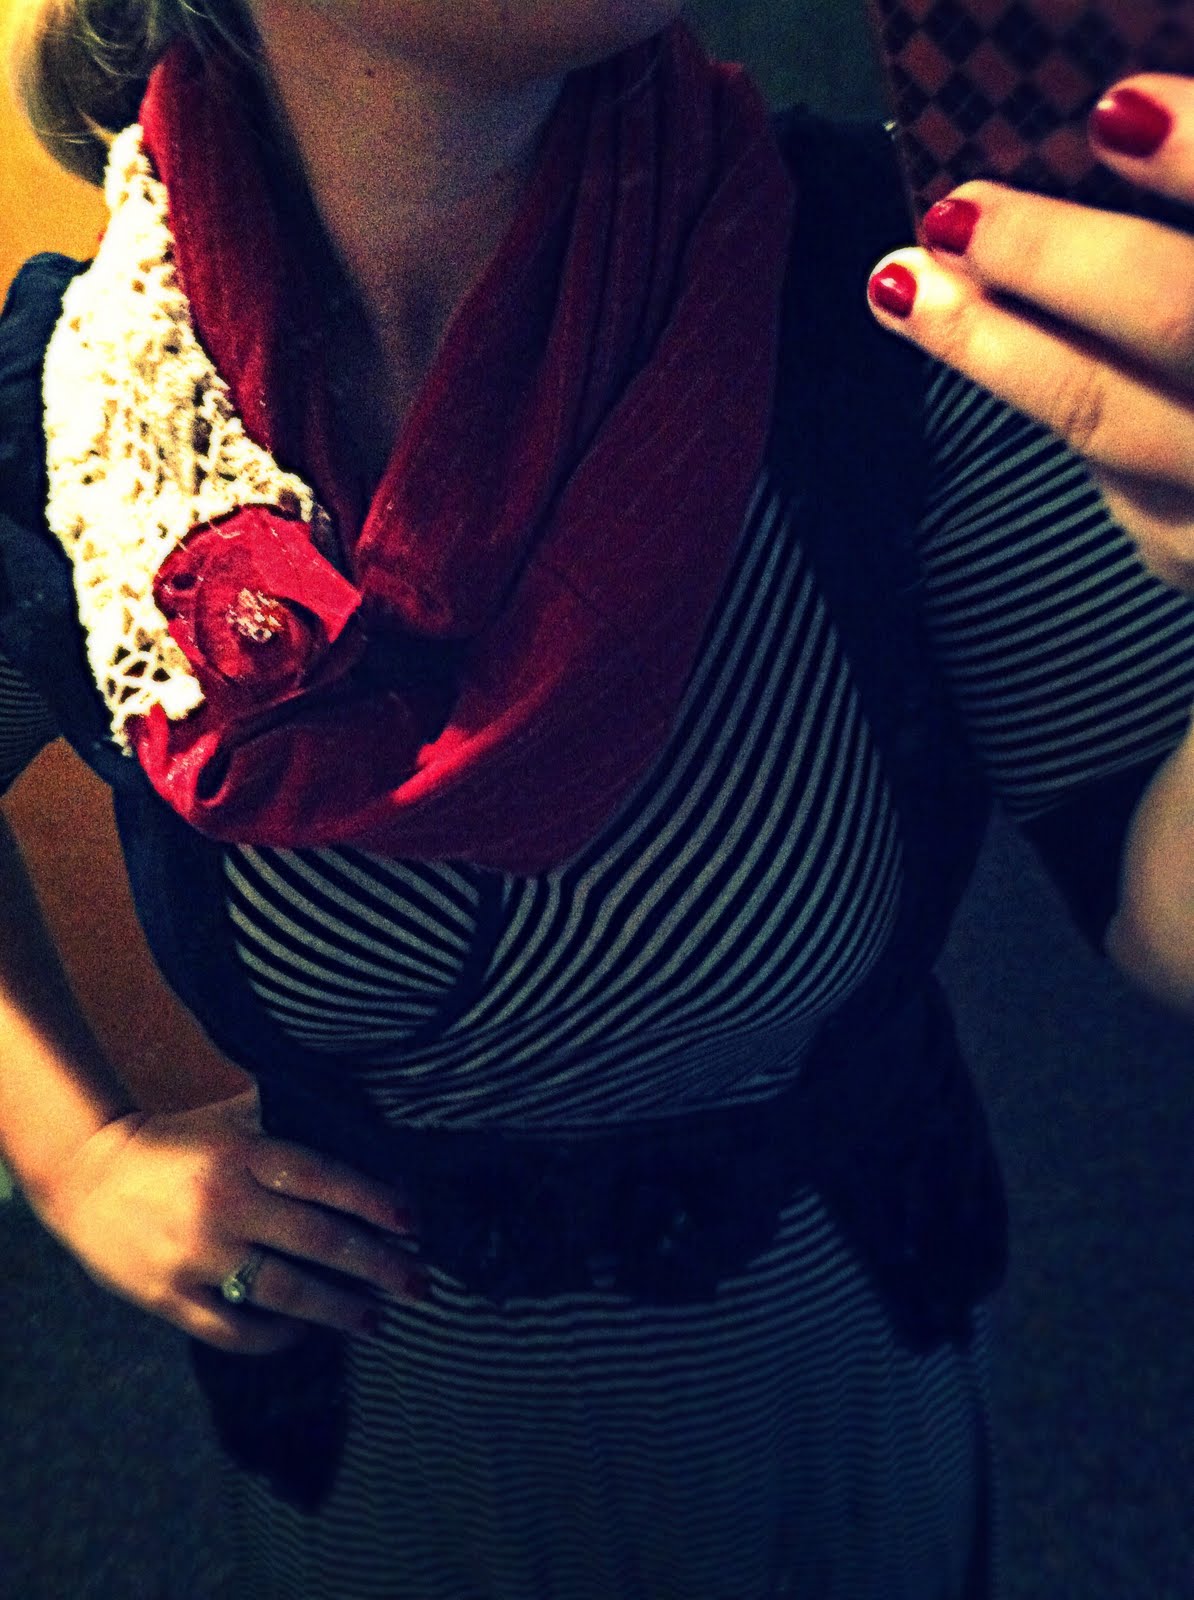
And there ya go! That was all it took in order to re-fashion the skirt in order to make it more my style! And I love it! For those who know me, I love wearing skirts so this is a great addition to my closet! Anyway happy Tuesday and tell me what you think! :-)

Thursday, September 22, 2011

Look what I've been up to ^^^

School just started so I have been a little busy since this is my last semester of college! Whoo hoo... but I always find time to craft around! I have really been into refashioning shirts lately and I had a cute shirt my mom gave me about a year ago...


It is super cute and all, but it was a little baggy, and I had to constantly roll the sleeves up...can you say annoying!? So needless to say, something had to be done :-)


So I decided to do a few things to the cute shirt...


First: I cut the sleeve hand sewed (I just barely got a sewing machiene...I could have totally saved myself the trouble, but it turned out okay right?) the edges. It is now a 3/4 sleeve and it is awesome!


Second: I added ruffles! So cute right!? I made the ruffles out of the extra material I cut off from the sleeves...


I also made the ruffles two different lengths. The middle ruffle is a little longer than the two on the side just to give it a little extra umf! I taked the ruffles on the front of each side just underneath the shoulder line.


This is how is looks like with both sides together...


...and this is what is looks like on! I think it turned out great and it is now more my style. Even Joel likes the shirt, which is amazing coming from him when sometimes he doesn't understand some of the things I wear!


Other then the shirt refashioning I have also been making scarfs to get ready for the snow :-( Sad that the summer is done, but excited to pull out the coats and to wear my new scarves! I this blue one I made because it is versatile. I love it, but this is a great example of something Joel does not like...but what do you think? I can't help it that I love the blue color, and silver fabric cuff I added to it...:-)


Also made this white ruffly one, maybe to wear with my red p-coat...


...or even with my new red stripe and lace scarf I crafted up. Which one is your favorite cause I love them all equally!

Anyway enough crafting and on to a new subject...Joel and I the other weekend went to "shoot the tube" in Sandy and it was so fun but we definately got some battle wounds. What is shooting the tube you ask? Well there is the huge open pipe in sandy in the middle of the mountains and it is about 200 yards long. You go with a group and sit in this tube in a slide formation. You place a board in front of the water flow so the pressure builds, eventually cracking the board in two. The water then rushes in, pushes your line of people down the slide, and then it spits you out into a pond at the bottem. It was so fun and scary but we got some boo boo's...


Joel cut his knee up from landing on some rocks which actually gave him bursitis! Ouch!


Joel also sprained his ankle, my friend Kristi (with Joel) sprained her knee, and both my friend Brian and I landed on rocks on our way down which created a huge welt on my bottom...so ya Joel and I didn't sleep that well that night...but it was so much fun!

Anyway happy weekend tomorrow and I love you all!

Tuesday, August 16, 2011

Yes, I am still alive...

Well it was time for a little change of scenery so I changed the look of the blog and the text font. You likey? Let me know! I should be posting another DIY post too so watch out for it :-) Oh and here are a few pics of Joel and I from this past month...


At Lacey's baby shower before she left to Ohio :-( No longer the 3 amigas...


MmmmmHmmmm.....


I took all the photos for the baby shower and these two ladies were the funniest! When the lady on the left picked up a mustache to hold, the lady on the right said, "Ida! You are really going to put a mustache on! Don't even think about it!" I don't think she got the point...haha!


J Dawgs Bottle of special sauce : $10
Years of not knowing you could buy J-Dawgs sauce: 3
Enjoyment of a homemade polish dog : Priceless


My brother is home! :-D


Meh...


My best friends! Especially now since my little brother is back...yay!


Oh and of course Mom is part of the club too :-)


A real arctic fox! I want one


Isn't he so cute! His name is Todd (awwwww)


Yes that is me doing my mom's hair while she is cutting Preston's hair...There is no "I" in teamwork.


Yikes! I love me some chicken...but when it's no longer cluckin!


Cutest girls ever...sad to leave them :-(


Hello Disneyland! I have waited to enter your amazing presence for 2 years now! Much too long...not to mention I love my mom in this pic :-)


I Love my hubby...


Beach time!


And to end things off on a good note, Joel found this in his stall...:-/

Have a good weekend friend! Luv ya! XoXo


Wednesday, June 1, 2011

Time for another DIY!

So this project I spotted off of another blog, I can't remember the name...but I just had to do it for myself! For those who have seen my apartment know that my kitchen is itsy bitsy small! So what ever I can do to dress it up I take advantage!


So needless to say I am excited to see this little project on my fridge! I also made these for my Mom and mother-in-law for mothers day and they loved them as well!
So today's project is making a clothespin magnet with ruffles and it is such a great way to dress up your refrigerator or magnet board.

Lets get started...


1. Most importantly you need your supplies. I already had the fabric and white felt, and I chose to do some pink, white, and yellow lace to come up with different magnet combos. Then at the dollar store and Michaels I grabbed a pack of clothespins ($1), a pack of magnets ($2), and some flesh colored and pistachio colored paint (50 cents each) totaling my price to only $4 for all!


2. The second step is to your clothespins. For myn I used the flesh colored paint and for the rest I painted them the pistachio color. I also only painted the top because it makes the whole process faster and who looks at the back anyway?


3. Next I cut out the fabric. The circles are probably about 2-3 in. around.


4. Then you fold the flower in half...


Then in half again...


5. From there I took three of the circles that have been folded twice and combine them together. For myn I combined two white circles with a yellow lace circle in the middle. You can choose any combo really.


6. In order to make sure they stay together, just quickly stitch through the bottom of the combo a couple times and then tie it off to seal.


Eventually you will gather a little pile like such...


7. The next step brings in the felt. I cut little circles, about 1/2 in. around to sew the combos on. I sewed 3 fabric combos on each felt piece.


Eventually it looks like this! It is starting to come together...


8. From there you quickly dab a little hot glue on the end of each clothespins and press the bottom of the flower to seal.


9. Now for the magnet portion. This is the easiest part of the whole process because it required no hot glue gun or sewing. The magnet came in a sheet like shown below.


I cut it into strips into the same width as the clothespins...


...and then I removed the paper on the back of the magnet and pressed it to the back of the clothespin. So simple right?


10. Whala! Your ruffle flower is complete! Didn't they turn out so fabulous! I love them so much!


They even turned out great in pink!


Happy Crafting! :-)